
Creating tests
Ask your agent to write a test. This page explains what it write and how to write good tests.
Layout
Tests live under tests/ in the cloned branch of your app.
tests/
  components/login.ts     component("login", ...)   reusable step sequence
  agency/create_agency.ts test("create_agency", ...) folder "agency"
  smoke.ts                test("smoke", ...)         no folder
A test
import { test, step, el, reusable, rg, agent } from "@buildprint/bubblescript/testing";
import { login } from "../components/login";

const profile = reusable("1733534664547x312777107866957900");
const createButton = profile.el("1739714784407x550193182934337150");

export default test("create_agency", {
  name: "Create an agency from the profile tab",
  description: "A user with no agency creates one and lands on the Agency tab.",
  viewport: "desktop",
  requires: [createButton],
  setup: [
    step({
      name: "Clear the tester's agency",
      run: `buildprint data update User "$(buildprint data search User --constraint "field=email op=equals [email protected]" --json | jq -r '.result.responses[0].hits.hits[0]._source._id')" --set Agency=`,
    }),
  ],
  steps: [
    login({ email: "[email protected]", page: "dashboard?tab=Profile" }),
    step({ name: "Click Create agency", run: `agent-browser click ${createButton}` }),
    step({
      name: "Wait for the agency form",
      run: `agent-browser wait ${profile.el("1739714572204x365566571452809800")}`,
    }),
    step({ name: "URL switched to the Agency tab", run: `agent-browser get url | grep -q "tab=Agency"` }),
    step({
      name: "Exactly one Agency record was created",
      run: `buildprint data search Agency --constraint "field=name op=equals value=Test $BUILDPRINT_TEST_RUN_ID" --json | jq -e '.result.responses[0].hits.total == 1'`,
      timeoutMs: 15000,
    }),
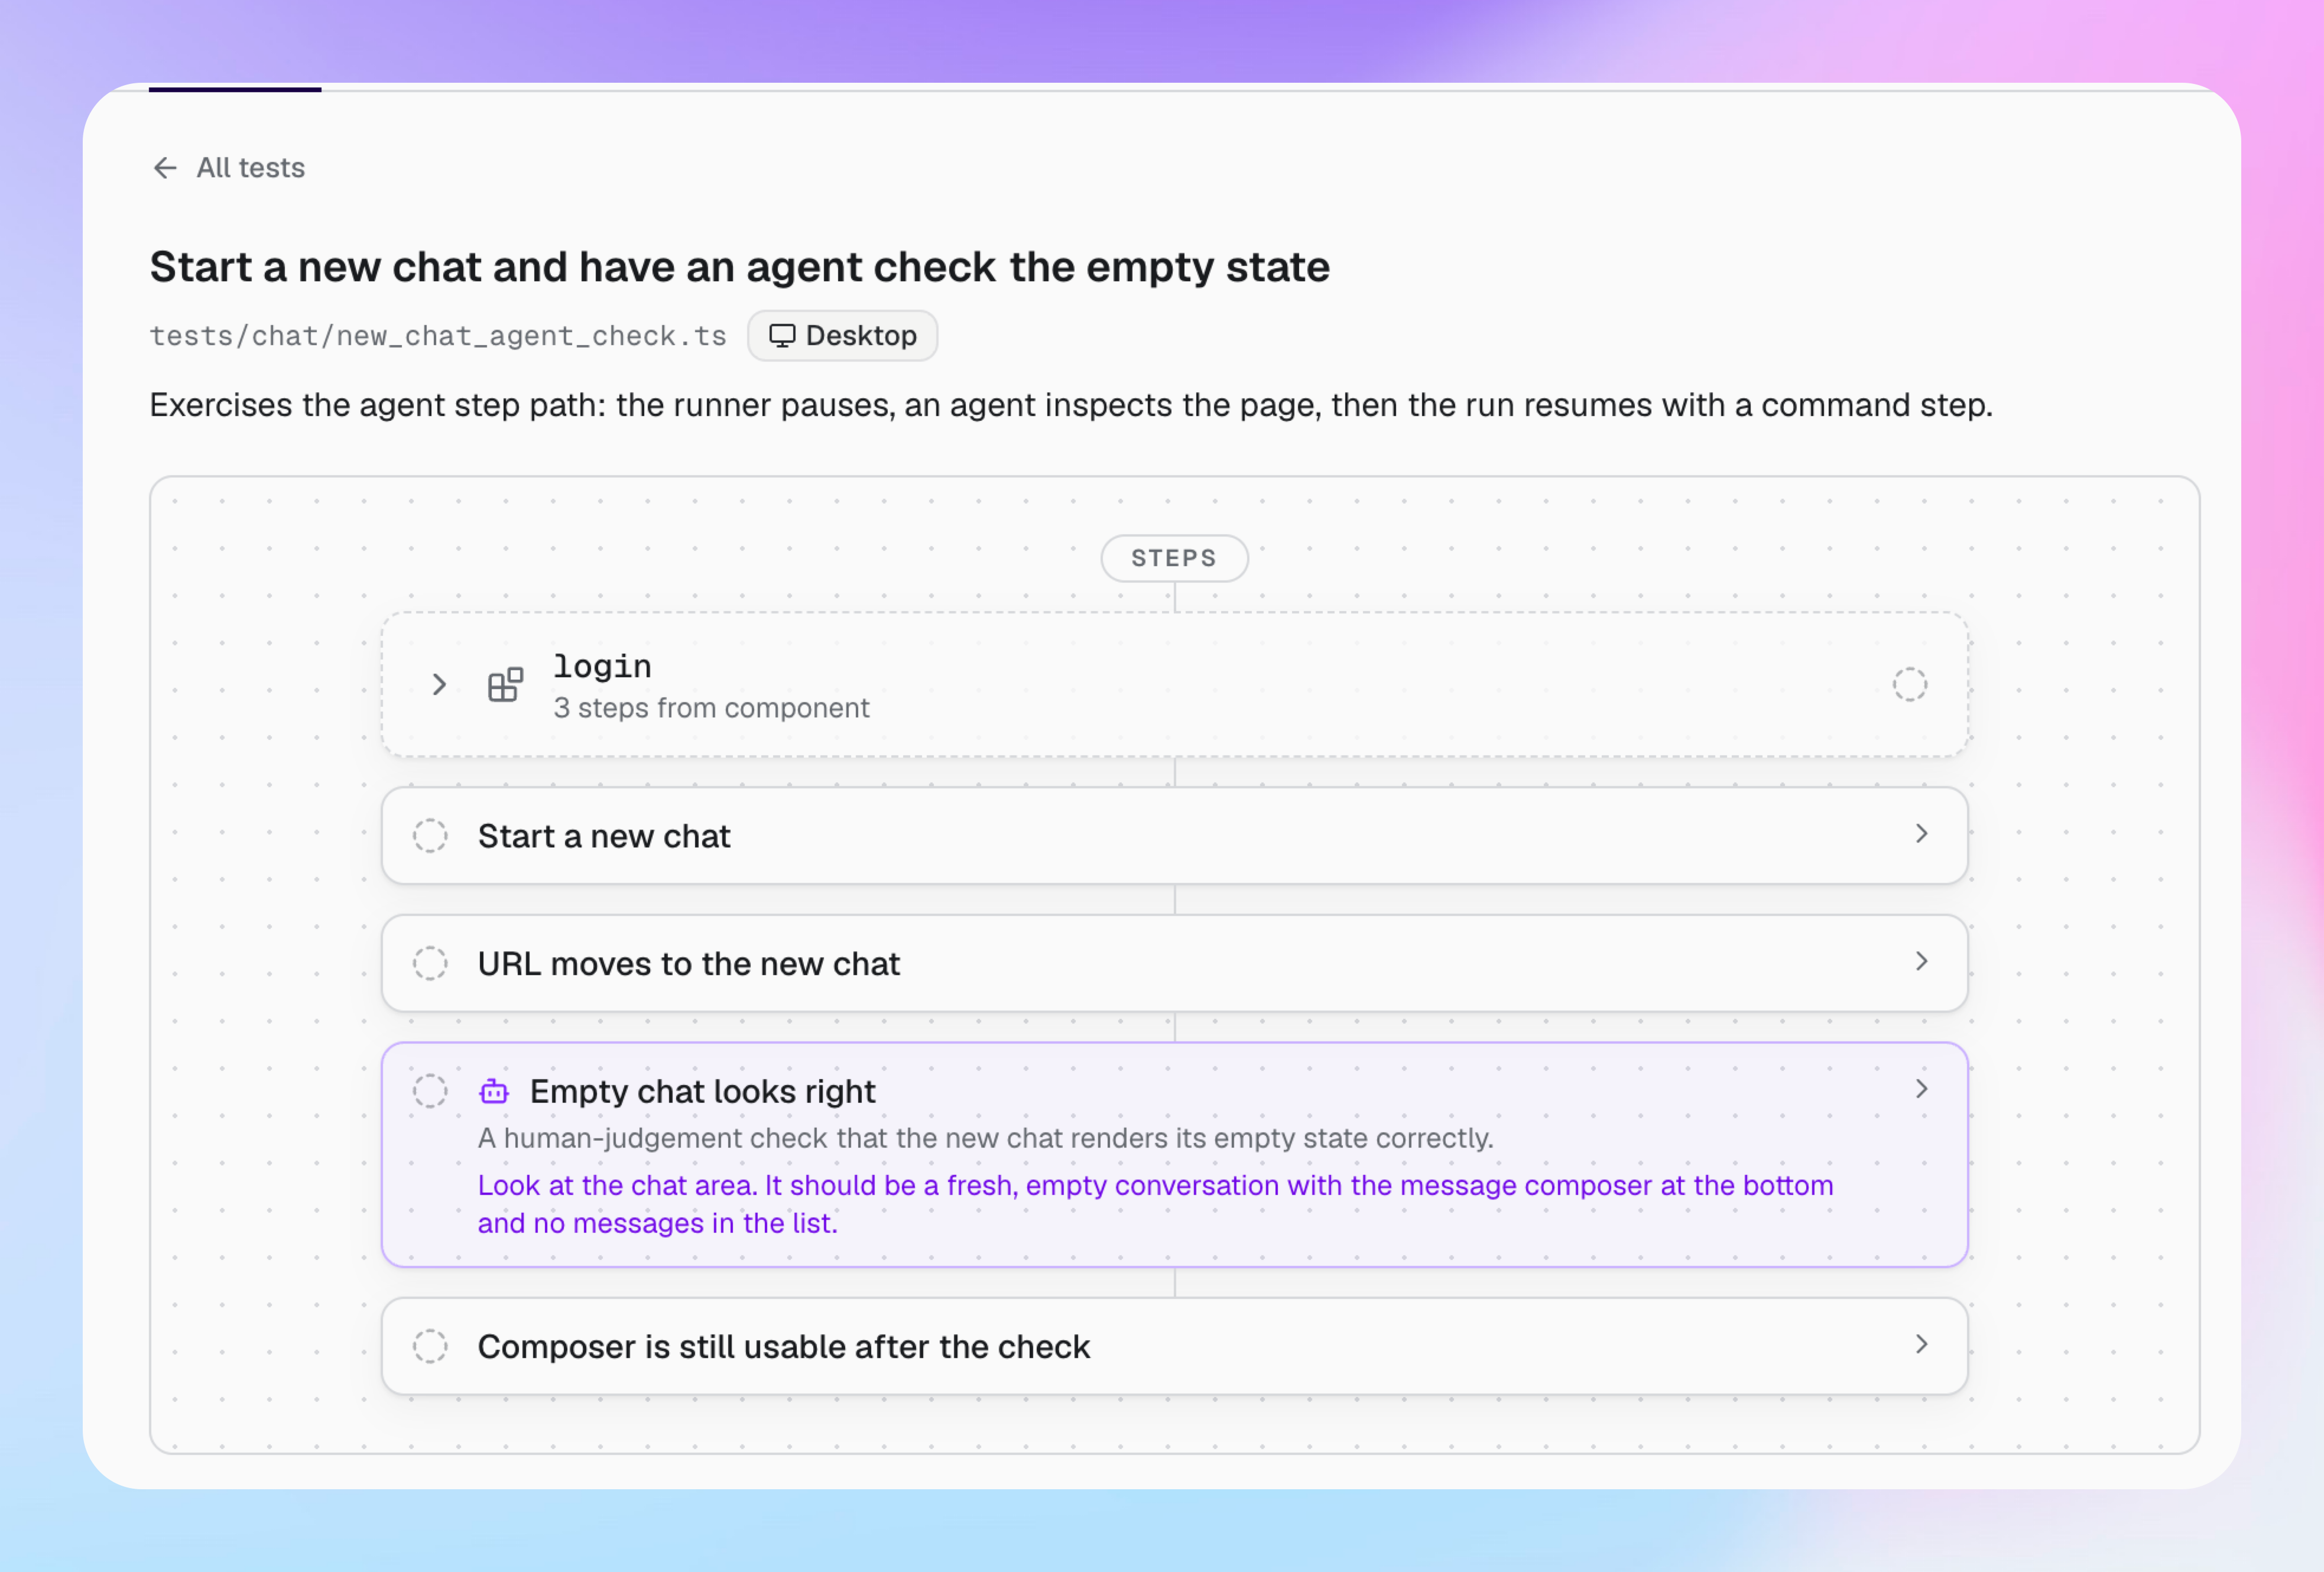
    agent({
      name: "Team section lists the current user as admin",
      task: "Check the Team section lists the current user as admin",
      context: "You are on the Agency tab. The Team section is below the agency name.",
      pass: "[email protected] appears in the Team list with the role Admin.",
      fail: "The Team section is missing, empty, or shows a role other than Admin.",
    }),
  ],
  teardown: [
    step({
      name: "Delete the test agency",
      run: `buildprint data search Agency --constraint "field=name op=equals value=Test $BUILDPRINT_TEST_RUN_ID" --json | jq -r '.result.responses[0].hits.hits[]._source._id' | xargs -r buildprint data delete --confirm`,
      onFailure: "continue",
    }),
  ],
});
The parts
Part | What it does |
|---|---|
| Declares the test. |
| One shell command. Runs with |
| Pauses the run and asks your agent to decide with the provided context. Only allowed in |
| Steps that run before and after. Use them to create and remove test data. |
| Elements, pages, workflows, option sets, or data types the test needs. If missing on a branch, the test will be inactive there. |
|
|
|
|
Component |
|
Selectors
Buildprint stamps every Bubble element in run mode with its element id. el("<id>") becomes a stable selector. Do not use Bubble's own classes, they change at runtime.
Elements inside a reusable:
reusable("<instance id>").el("<child id>").Repeating group cells:
rg("<rg id>").row(1).el("<child id>"). Rows start at 1.Popups render at the top level of the page. Scope popup children by the popup's own instance id.
Hidden elements are not in the page until shown. Always
agent-browser wait <selector>after the action that reveals them.
Find element ids in pages/<page>/page.ts, or run:
buildprint test el <element id>It prints the selector, the owning page or reusable, and whether scoping is needed.
Environment inside a step
Variable | Value |
|---|---|
| The run's browser session. |
| App id, branch, and |
| For example |
| JSON for |
| Unique per run. Use it to name test data. |
| Screenshots saved here attach to the run. |
Assertions
Put each check in its own step.
Text:
test "$(agent-browser get text ${el})" = "Expected"URL:
agent-browser get url | grep -q "tab=Agency"Visibility:
agent-browser is visible ${el} | grep -q trueData:
buildprint data search Type --constraint "field=name op=equals value=X" --json | jq -e '.result.responses[0].hits.total == 1'
Check and apply
buildprint check
buildprint apply
check reports any compiler errors with the file and line. apply ships the test to Buildprint. The runner always runs the applied version. If you edit a file and run it without apply, the runner warns and runs the old version.
Debug a failing step
Open the run in Buildprint. The failed step shows its output and a screenshot.
If a selector did not match, for example, run
buildprint test el <id>and compare it with the step.If the run is paused at an agent step, try the fix as a command before you edit the file:
buildprint test step <runId> pass --script 'agent-browser is visible [data-bp-el="..."] | grep -q true'The CLI stores the script on the run and prints a step() you can paste over the agent() call. Edit the file, then check and apply.